Deploy a workflow
Workflow Json (Beta)
Deploy a workflow
Workflow Json (Beta)
Explainer
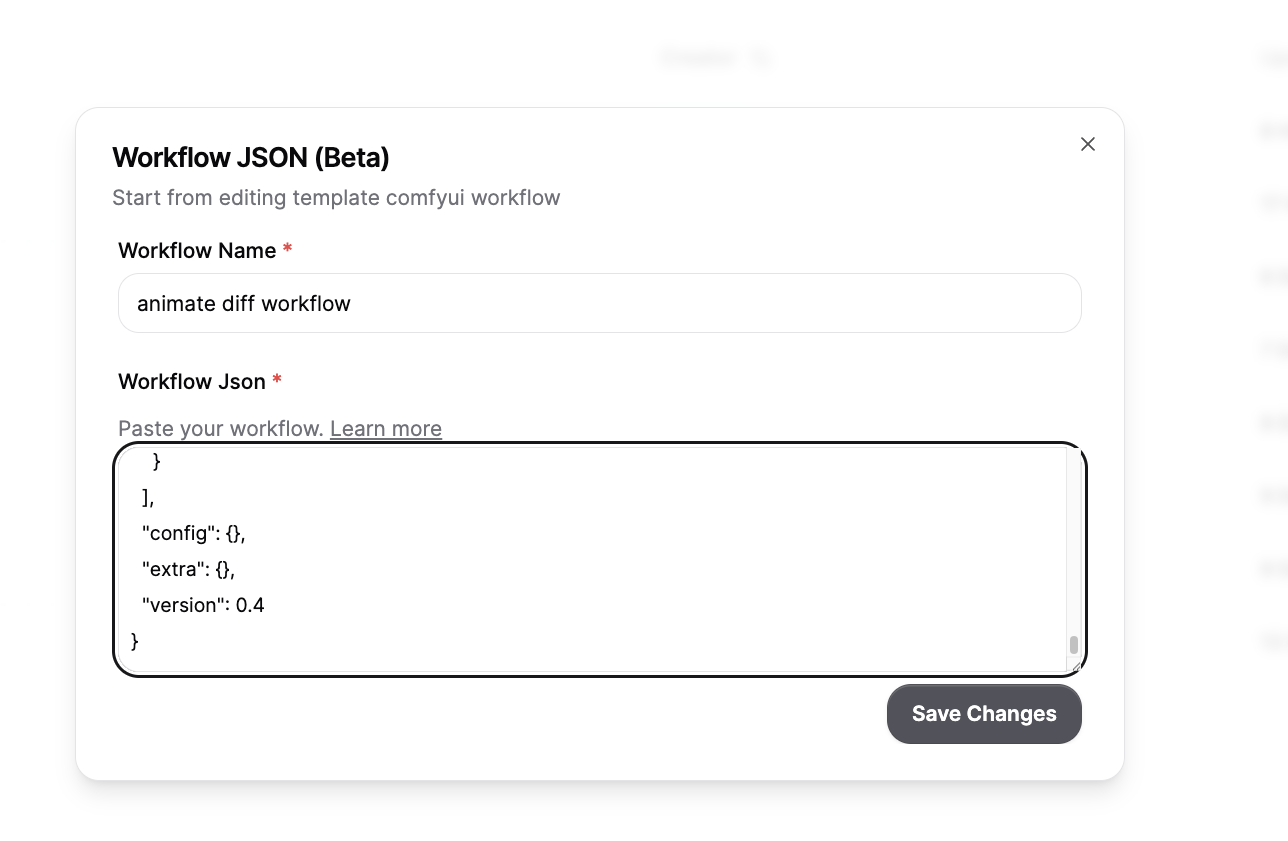
A workflow json is the file you get when you click “Save” in ComfyUI, it defines the structure of the workflow.
However getting that to work in your own system can be tricky, you have to figure out dependencies from python, custom nodes, and models.
This on average gets you 80% there by figuring out those dependencies for you.
Steps
- Get your workflow json.
- Go to your workflows page and select
Json Workflow +

- Give your workflow a name, and paste your workflow into the
Workflow jsonfield. We’ll automatically create a machine named after your workflow that includes the workflows custom nodes.
- Wait for your machine to build then click into your created workflow.

- Wait for the workspace to load, then click
Deploy Changesbutton on the left hand side. - You can now run your workflow on Comfy Deploy!
- BONUS: A lot of workflows might have their own models, we can detect a lot of the models your workflow uses which you can find in the API section of your workflow. Click into dependencies to see them right after you deploy from step 6!
Next steps
Modelscan have different names and paths and places to download from. On top of this somecustom nodesrequire models that aren’t explicitly defined. You can add this to your storageCustom Nodescan have different versions, and since we can’t know for sure which commit the original workflow came from, we have to assume.- It’s possible that we missed some custom nodes, we reccomend searching on google for your
missing nodeand github to find the repo which you can then add to your machine
Was this page helpful?